How to Make Tie On Bracelets [Craft Idea]


Tie on bracelets are a popular type of friendship bracelet that can be customized with colored beads and charms. You can also use different types and string and cord, and different shapes of beads to create multiple designs. Bracelets are easy to make and can be customized in specific colors, for special events or to show your school spirit.
Colorful bracelets made from woven or braided embroidery floss are a popular type of friendship bracelet. They involve knowing a few macrame (weaving and knotting) techniques which can be time consuming. You can be equally creative by making a tie on bracelet using only beads and thick cord. Tie on bracelets are also an easy way to make a "one size fits most" bracelet, which is great for gifting, fundraising, and party favors or a party activity.
Choose Cording & Beads
Tie on beaded bracelets are great for hemp, leather, satin rattail, suede and other types of string and cord. Since the cord will be exposed, choose a durable cord that is atleast 1.5 mm thick. You can also double up the string, or braid multiple strands together to make a thicker cord.
Make sure the holes of your beads work with the cord that you have chosen. If the bead holes are too small, the cord will not be able to fit through, and if the bead holes are too large, the beads will slide off. It's always great work with what you have, so we'll give some more tips below if your bead holes are too small or too big.
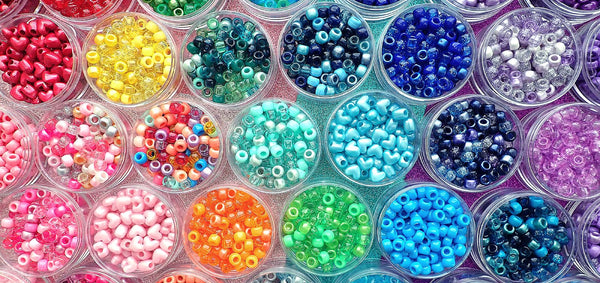
Pony beads and alphabet beads are great for this type of project because the hole size works great with cords that are 1.5 to 2.5mm thick.
Materials
- String or cord
- Beads (a variety of sizes, shapes, and colors)
- Scissors
- Tape
- Optional: charms, tassels, ribbon, other types of decorations and embellishments
Measuring Bracelet Size
You can use a soft measuring tape, or a piece of string to measure your wrist size. Then add 5-6" to accommodate knots.
Instructions for Beaded Tie-on Bracelets
- Cut a length of beading cord that is about 12-14" inches long. You may have to adjust the length depending on the wrist size.
- Thread the beads onto the cord, experiment with different color combinations and bead patterns.
- Secure the beads - tie a knot right right before the first bead and right after the last bead. If your string is too skinny to make a large enough knot, add a bead with a smaller hole, then tie the knot. Be sure there is enough leftover string for tying around the wrist.
More Tips
- If you want to use embroidery floss or other types of thinner string, you can double up the string, or braid multiple strands together to make a thicker cord.
- Be sure to check that the bead holes will work with the cord that you have chosen.
- Use charms, tassels, ribbon or other embellishments to add more personality and style to your bracelet.
There are endless ways to personalize tie on bracelets, they can be layered with other bracelet styles to create a unique fashion look. Tie on bracelets are a great project for a festival booth or group activity.
Leave a comment
Comments will be approved before showing up.